Skip To...
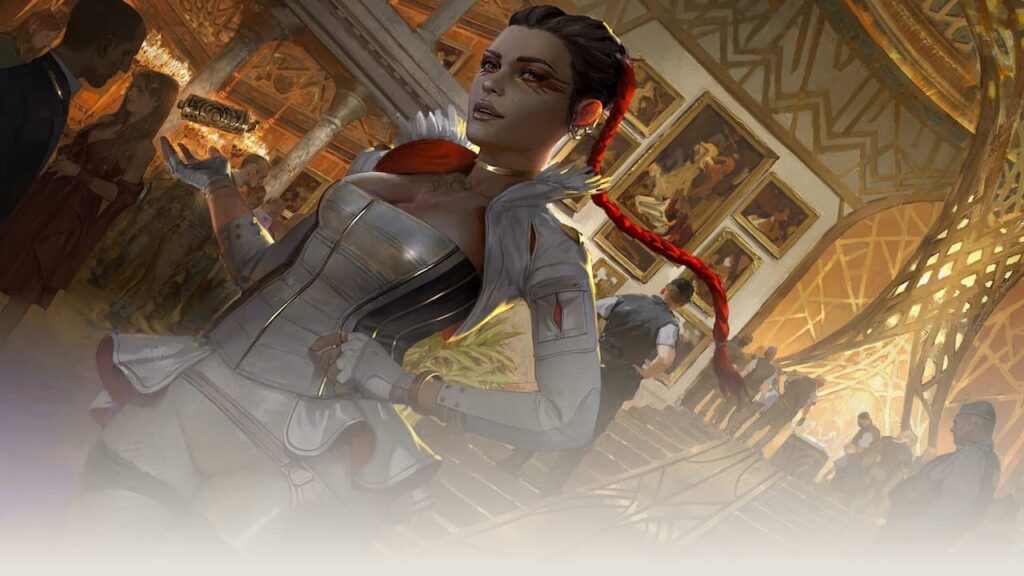
The most recent update to Apex Legends introduced an all-new game mode titled Kill Code: A Thief’s Bane. The story-based game mode has players assume control of Loba as she navigates a dilapidated laboratory. Although the mission is short, it is not always straightforward. It is worth it because the big reveal has massive lore implications that fans will want to see. This guide will explain how to complete the Kill Code mission in Apex Legends.
Upon starting Kill Code, players will be greeted with a cutscene showcasing Loba entering the facility. The first clue that something is off about the laboratory comes when Loba proclaims that it “feels like (she’s) been here before.” The cutscene ends with Loba dismissing Valkyrie, leaving players in control to begin exploring.
Room One
This is easily the most straightforward room in Thieves’ Bane. To access it, interact with the glowing panel after the cutscene ends. This will lower the player below to a massive, cavernous area with a broken bridge.
Use Loba’s tactical ability to teleport to the other side of the bridge. Don’t be alarmed when the floor breaks upon landing, as Loba will save herself via an automatic cutscene. Throw your bracelet into the vent above the door to proceed to the next room.
Room Two
Upon dropping out of the vents, immediately turn left and throw Loba’s bracelet into the massive tunnel in the wall. The tunnel will lead to a broken walkway that looks a lot more complex than it is. You will have to activate your tactical a few times to make it across some of the gaps, but there is nothing unusual besides that.
Eventually, after mantling a raised platform, players will reach a dead end with a short ladder on the Northern wall. This is one of the trickier maneuvers throughout Loba’s mission, but it can usually be completed within a few tries. Look to the right for two yellow pipes protruding from the Eastern wall, and teleport on top of them. This will lead to yet another decayed walkway where you must crouch and mantle over a couple more obstacles.
After reaching the end of the walkway, look left for a red room with a broken window. Throw Loba’s ring through the glass to enter the third room.
Room Three and the Vents
After landing in room three, throw your tactical on top of the small platform with two circular vents on the front. Like in the first room, players will have a small opening above the door to crawl through.
The vents are easy to navigate and have no branching paths. They will, however, lead to a small room where a bit of platforming will be required. As soon as it is in range, teleport again to the vents on the opposite side. The vents here will require a bit of climbing, so be sure to look up if you think you’ve reached a dead end.
This sequence will culminate with the player being met with a grated hatch blocking their exit. Throw your bracelet through the openings to enter the final room of this area. The last step here is to look for and enter the vent one last time.
Room Four
Go ahead and drop down, and use Loba’s tactical to slip underneath the lifted garage door. This area will require much more attention than the previous rooms, as players must actively teleport while ziplining. Remember that the goal is to reach the wall directly opposite where you entered the room.
Mount one of the two ziplines to begin and keep your eye on the platform below where the ziplines end. Players must teleport or jump off at the right time to land on it safely.
After safely landing, grab onto the left zipline. Be prepared because the zipline is going to lead directly into another one. Players must dismount and grab a second zipline within moments of each other. However, you don’t get a break just yet. You will need to quickly look down and prepare to teleport onto a platform that sits low on the right-hand side of the room.
Once that is complete, ride the vertical zipline directly up, and teleport across the large gap to reach the large platform with windows behind it. From there, proceed into the room ahead and use Loba’s ultimate to steal the “Hammond Datapad” from behind the glass at the back. This part is very important as it will be needed to proceed later.
Hang in there because room four is almost done. Head back out to the platform and look up to locate another vent. Teleport inside and begin riding the ziplines back toward the entrance. However, about halfway through the second zipline, look down and let go to grab onto one of the ziplines going right. Here, you will use the Hammond Datapad to unlock the door.
Room Five
Room five is significantly easier than the previous one, albeit slower paced. Players must use their bracelet to teleport across the first two platforms, avoiding the moving columns. Upon landing on the second platform, look to your right and transport into the fan on the wall.
This will provide a clear view of another fan on the opposite wall. Once again, avoid the moving platforms and teleport inside. Proceed forward, pass the blades, and continue down the tunnel. At the end of the tunnel, players must use Loba’s bracelet to get up top and into the maintenance room ahead.
Make your way to the blue, smoky door at the top of the stairs and use the bracelet one last time to teleport underneath the bottom, similar to what we did before entering the zipline room.
At last, we’ve reached the end. Head down the final path and interact with the panels to trigger the final cutscene of Apex Legends: Kill Code. We won’t spoil it here, but what Loba learns during the cutscene will surely give goosebumps to any Apex Legends fan out there.


