
Skip To...
Safi’Jiiva, along with Kulve Taroth, is one of the two Siege Quests that rotates every two weeks in MHW Iceborne. Only accessible once players reach Master Rank and complete the main story, this red dragon is no slouch. It has lots of area-of-effect attacks, hard-hitting laser beams, and even an arena-wide party-wipe ultimate move. You will need to have a full 16-player Session, and follow our Monster Hunter World guide, to beat it quickly and reap the best rewards.
MHW Iceborne: Safi Jiiva Siege Phases
Phase 1
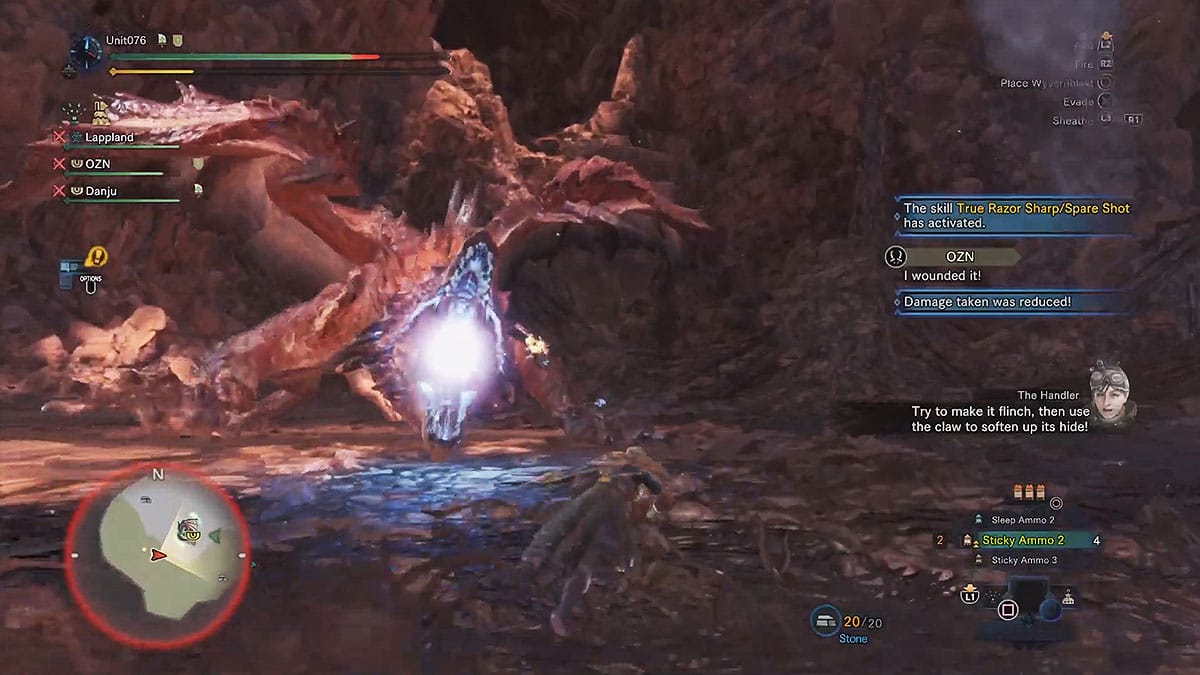
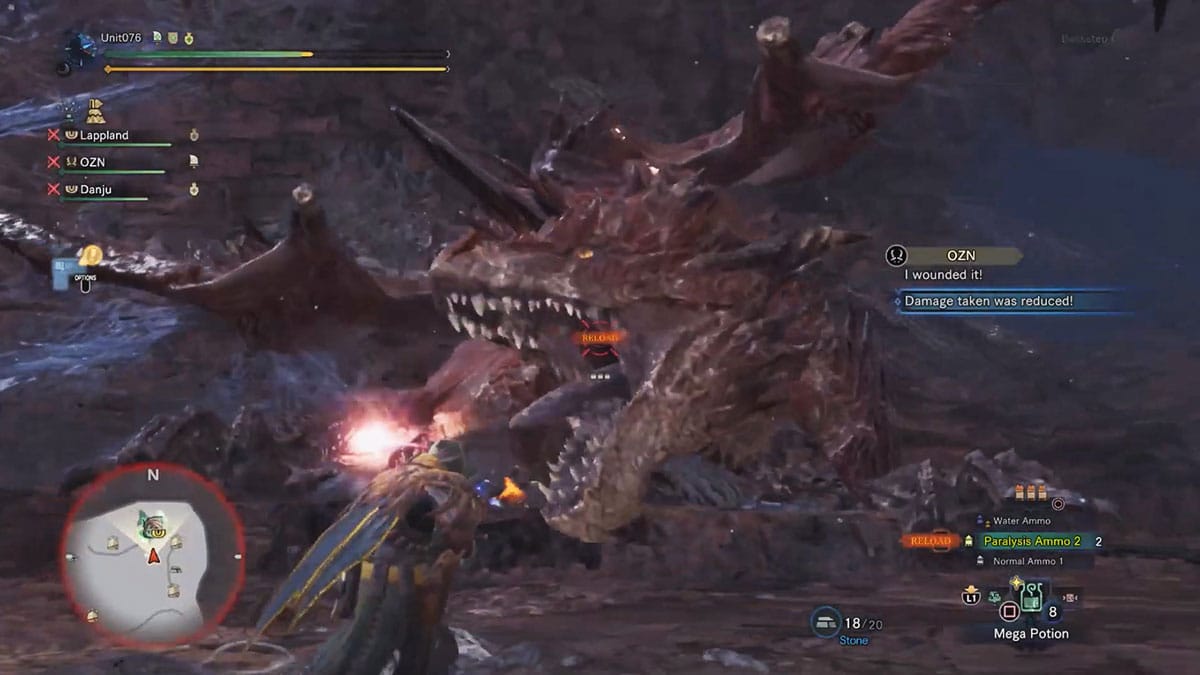
In this phase, Safi’Jiiva isn’t too aggressive; it will mostly fight using leg and tail swipes. Nevertheless, if you stay too long in front of it, it will attack using laser breath. The one thing that should be noted is the tracking laser beam which deals a decent chunk of damage. As Safi Jiiva’s head will track a target, you need to dodge at the right moment. Either wait until Safi Jiiva’s mouth goes bright before dodging or quickly run below its body before it can fire at you.
Do keep in mind that Gunlance, Lance, Heavy Bowgun, Sword and Shield, and Great Sword can protect teammates from all of Safi’Jiiva’s laser beams. Equip Guard Up, and Guard 5 for good measures, and you’ll be able to shield yourself and anyone behind you while barely spending any Stamina.
Deal enough damage and Safi’Jiiva will usually keep flinching toward the vine traps on the edges of the arena. If it flinches again on top of the vines, it will get trapped. Two rocks on the cliff wall side can be dropped to knock down Safi’Jiiva as well. Doing both will make Safi’Jiiva release energy and thus, will make depleting the first floor’s Energy Level faster. It will eventually go down to the second level, starting Phase 2 of the Siege.
Phase 2
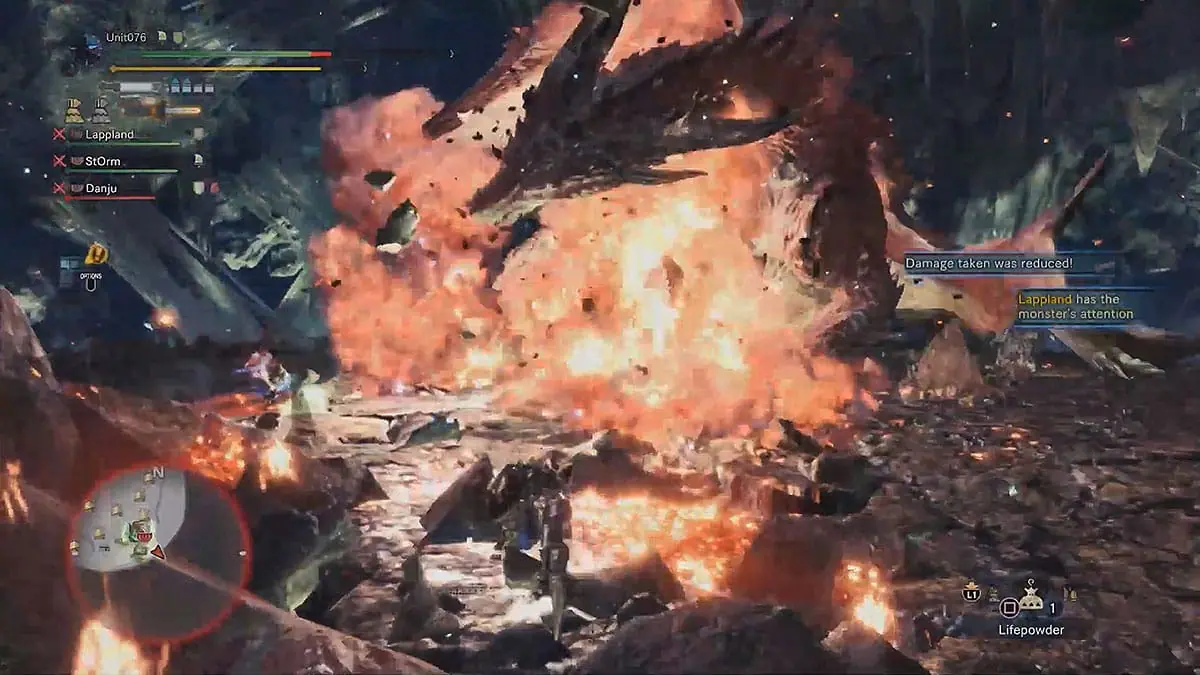
Once in this phase, Safi’Jiiva will perform even more laser as well as explosion attacks. If you see it slamming its legs or body into the ground and creating glowing blue cracks, stay away as soon as you can! Because that particular spot, and the area surrounding it in case of the body slam, will explode and deal a huge amount of damage. Although for the body slam, you can roll toward the dragon after the first explosion if you have Evade Extender 3 since it explodes outward.
Aside from the explosions, this time it has a pin attack that will surely kill anyone without +20 Fire Resistance. Safi will perform a quick head swipe that can’t be blocked and bite its target. The prey will be bathed in the dragon’s azure flame and thrown out with less than 10% health. While you won’t instantly die at full health, the ground you’re thrown in will have leftover flames that deal tick damage. Which still makes it a death sentence if your friends failed to heal you with Dust of Life.
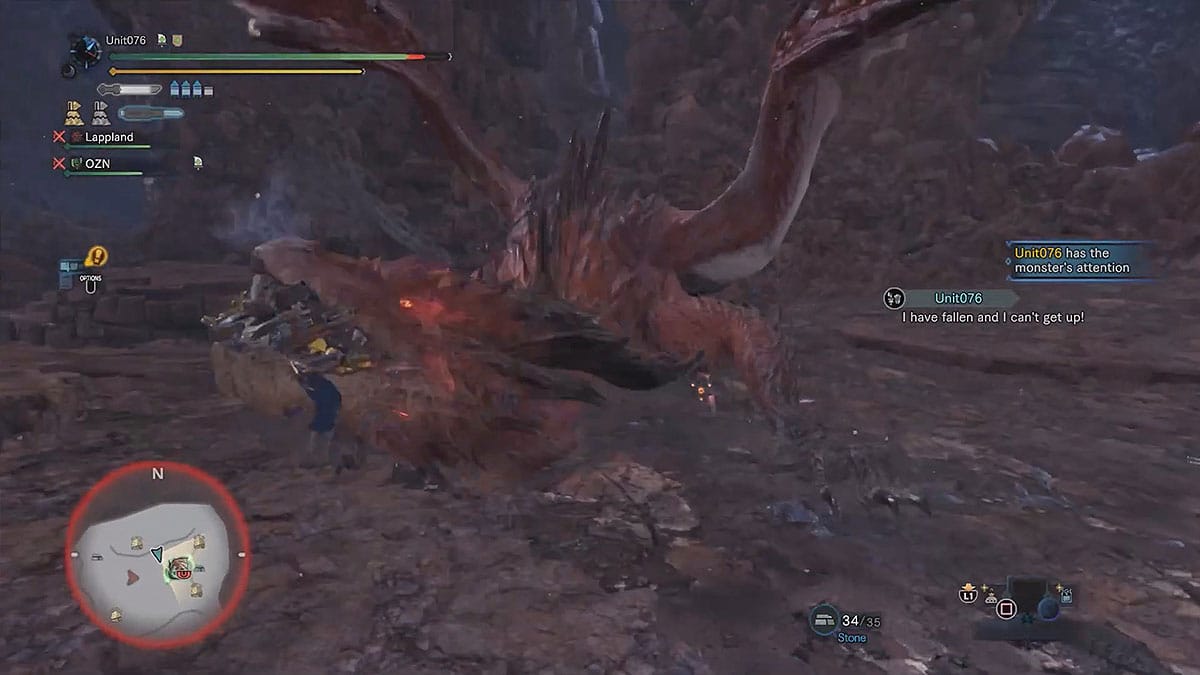
This phase also introduces the Behemoth’s Enmity-like system; anyone who deals the biggest damage will be targeted by the monster. But Lance and Gunlance are given the ability to take aggro easier than all other weapons. Doing a Flinch Shot on its head will make you a target, in case your friend cannot handle being chased by a huge, angry dragon.
Speaking of Enmity, Safi’Jiiva in MHW has an arena-wide one-hit-kill attack as well, called Sapphire of the Emperor. Once it flies and your camera zoomed out, quickly hide behind rock crags. These rocks will also protect you from all of Safi’Jiiva’s laser breath attacks. Interestingly, you actually can cancel this attack by shooting a Flashpod at the right moment.
Phase 3 / Bottom Level
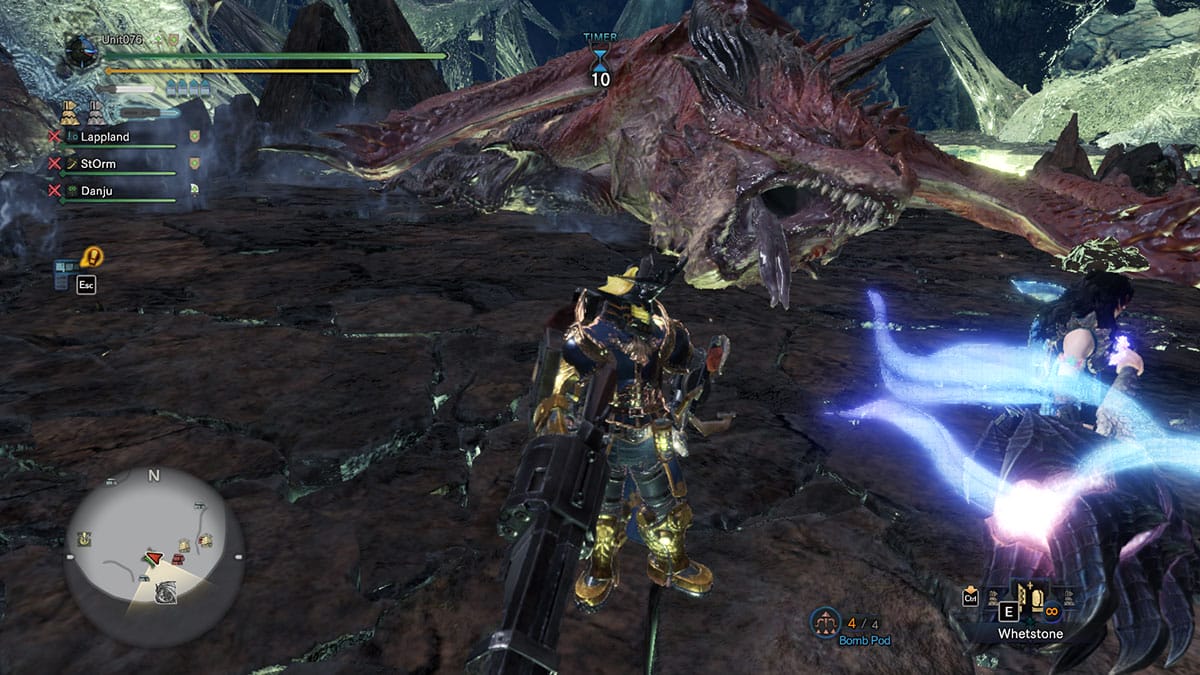
Safi’Jiiva is in its most aggressive state when reaching the bottom level. Almost all of its attacks will create blue explosions and often do body slams that can pin you. When it charges its laser beam, it can do an arena-wide blast sweep twice. Quickly run to its body, hide behind a rock, or block it if you’re using a Lance.
During this phase, the adult form of Xeno Jiiva can also enter a powered-up mode, called Supercritical State. In this mode, its chest will glow and become a weak spot but every single beam or explosion will have a lingering flame. It’ll eat up your health so don’t stay in one spot too long if you don’t have enough Fire Resistance.
Safi will perform the Sapphire of the Emperor ultimate attack if it’s in this state too, so keep in mind the shield rock locations. However, it’s best to not Flashpod-cancel the Sapphire of the Emperor attack during this phase. For some reason, sometimes the rock will disappear and Safi will quickly perform another arena-wide attack after recovering from being blinded.
Look for the trap icons in the minimap, which indicate spots that spew green explosive gas. Anyone that’s targeted by Safi Jiiva should lure it there, and trigger the explosion with any attack or a Slinger shot. If Safi got hit by the gas explosion twice, it would get knocked down and take a huge amount of damage.
MHW Iceborne: The Best Strategy to Defeat Safi Jiiva and Maximize Siege Points
Simply defeating Safi’Jiiva in the MHW Siege Quest isn’t too hard of a task, even with the 20-minute time limit. Keep repeating the Siege Quest and Safi’Jiiva will eventually stop being able to absorb Energy, making it weaker. The monster’s health has also been adjusted to the number of players and is beatable in solo play. However, what you need to prioritize isn’t just killing the Sapphire Emperor, but maximizing the quest’s Reward Levels.
The higher your Session’s Reward Level, the better Dracolites and weapon drops you’ll get. Hence, you will need to focus on the first two runs to break as many parts as you can. Spend the whole 20 minutes of your first run breaking these parts, in order:
- Wings.
- Back
- Head, twice.
- All four of its Legs.
Its Wings and Back are tough to reach using most weapons, but Sticky Light or Heavy Bowgun, Bow, and Insect Glaive are perfect for this. Don’t forget to maximize your Partbreaker and other damage buffing Armor Skills like Attack Boost and Critical Boost. When you’re aiming at its Wings and Back, you can ditch Weakness Exploit though since those parts cannot be wounded with Clutch Claw attacks.
Meanwhile, Long Gunlance with Partbreaker and Focus can easily destroy all its Wyvernstake Blast-attached Legs without any help from other players. Otherwise, its Forelegs are weak against Cutting/Slash damage while Blunt is effective for the Hindlegs.
For the second run, you should have depleted most of the Levels’ Energies, making Safi’Jiiva weaker and the fight faster. At this point, you will want to aim at its Chest during the Supercritical state in the last Phase. Use weapons with long reaches such as Great Sword, Hunting Horn’s back slam, or Gunlance’s upwards Shelling. Try not to mount Safi’Jiiva during the First or Second Phase, save it for the Bottom Level so all of your team can easily attack the Chest.
The Chest part can only be damaged and broken when Safi’Jiiva enters its Supercritical state. For that reason, you can use the First and Second Phases to cut the tail instead.
It’s recommended that Bowgun users bring Paralysis and/or Sleep Ammo for Safi’Jiiva MHW Siege Quest. Use Paralysis during Phase 2 in the first run so your team has ample time to break parts. Then when aiming at Head breaks, put it to sleep. Then for the second run, apply the Statuses when it’s Supercritical and quickly attack its Chest.
In terms of MHW Element and Status weapons, Safi Jiiva is really weak against Poison and Blast. Dragon can be effective, but only when it enters the Supercritical state. Below are the Armor Skills that we recommend you take for the Siege Quest.
| Armor Skill | Description |
|---|---|
| Health Boost 3 | Increases your maximum health to 150 HP. |
| Partbreak 3 | The obligatory Armor Skill for Siege quests. Helps break Safi’Jiiva’s body parts faster and maximize your Reward Levels. Can be removed if all objectives have been completed but your Session hasn’t defeated Safi’Jiiva. |
| Divine Blessing 5 | Will often reduce damage taken by 60%. |
| Fire Resistance 3 | Removes heat damage from Safi’Jiiva’s flame and Fireblight. Also makes sure you won’t die from the Fireblight when pinned. |
Safi’Jiiva Siege Reward Level Points and Weapon Reward Trick
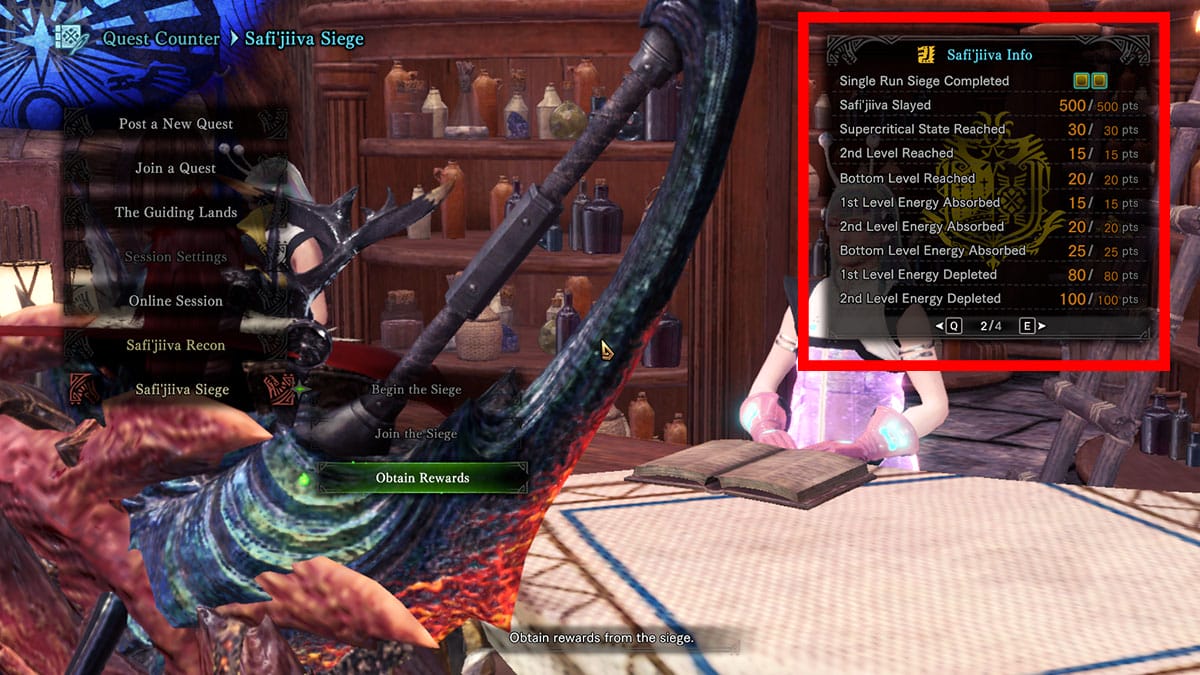
If you and your Session manage to reach Reward Level 14 or higher, you can take 4 weapons instead of just 3 from the pool. You can check Siege Objectives by pressing L1-R1/LT-RT on a controller or Q-E keys on the keyboard after selecting the “Safi’Jiiva Siege” menu in Gathering Hub. We also have listed all of the Safi’Jiiva MHW Siege objectives in the table below.
Before we end this guide though, there’s one neat little trick when redeeming the weapon rewards. To ensure you get the weapon type you want from the Siege Reward, do these steps:
- Before claiming the Siege Rewards from the Pub Lass, first change your weapon.
- Equip the weapon type you need from the Item Box.
- Pick the “Obtain Rewards” option. You should at least see 2 of the weapons you’re currently using in the reward list.
| Siege Objectives | Reward Level Points |
|---|---|
| Safi’Jiiva Slain | 500 |
| Super-critical State Reached | 30 |
| 2nd Level Reached | 15 |
| Bottom Level Reached | 20 |
| 1st Level Energy Absorbed | 15 |
| 2nd Level Energy Absorbed | 20 |
| Bottom Level Energy Absorbed | 25 |
| 1st Level Energy Depleted | 80 |
| 2nd Level Energy Depleted | 100 |
| Bottom Level Energy Depleted | 120 |
| Back Broken | 100 |
| Chest Broken | 200 |
| Right Wing Broken | 50 |
| Left Wing Broken | 50 |
| Right Hindleg Broken | 20 |
| Left Hindleg Broken | 20 |
| Right Foreleg Broken | 20 |
| Left Foreleg Broken | 20 |
| Tail Severed | 120 |
| Head Partly Broken | 20 |
| Head Completely Broken | 180 |
Monster Hunter World: Iceborne is available on PlayStation 4,


