
Skip To...
The Black Ops 6 Citadelle des Morts map is probably the most fun we’ve had in Call of Duty Zombies in a long time, and while the map looks amazing, its main quest easter egg can be super hard to accomplish. So, I’ll show you how you can complete the main Citadelle des Morts easter egg before round 30 as quickly as possible to reach the final boss fight in exactly 11 steps. Ready up, grab your gear, and let’s get started.
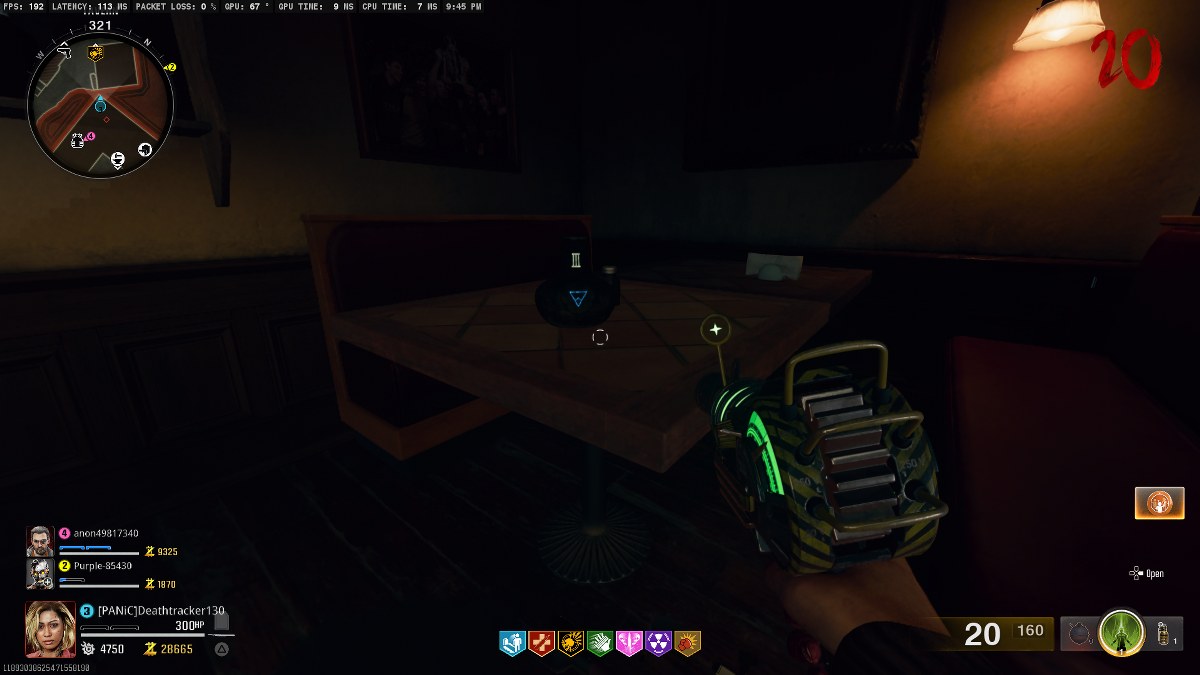
1. Unlock The Pack-A-Punch Machine
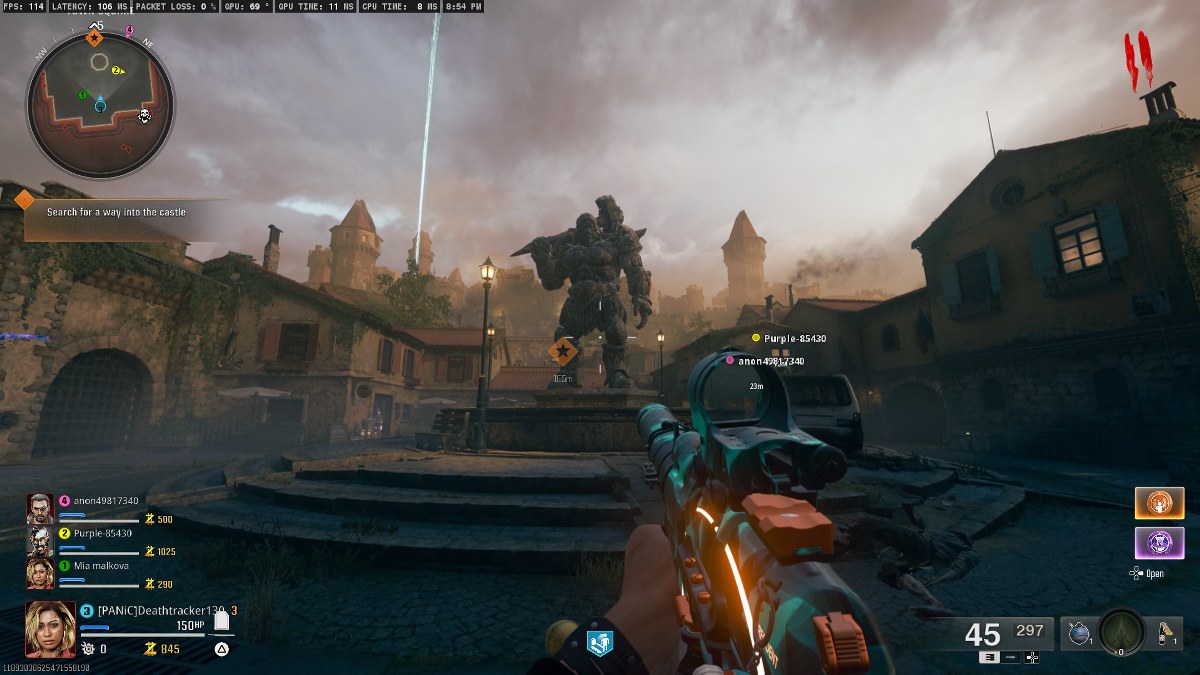
You are around a square with a giant statue in the middle, and you have two ways to proceed and reach the castle: Either go right and find the Speed Cola on your way, or go left, and Deadshot Daiquiri is waiting for you right in there.
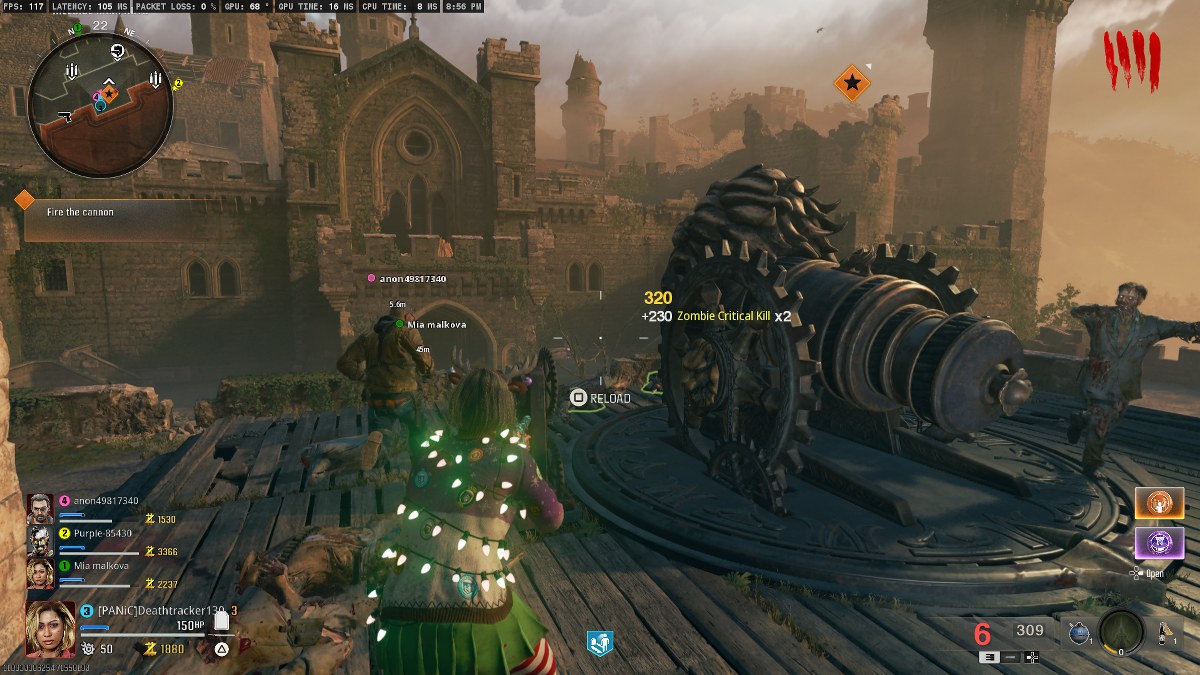
Once you reach the castle, in the rampart area, there’s a canon on top, which requires another door to be opened up the stairs. Turn the crank on the canon and shoot the castle’s main entry.
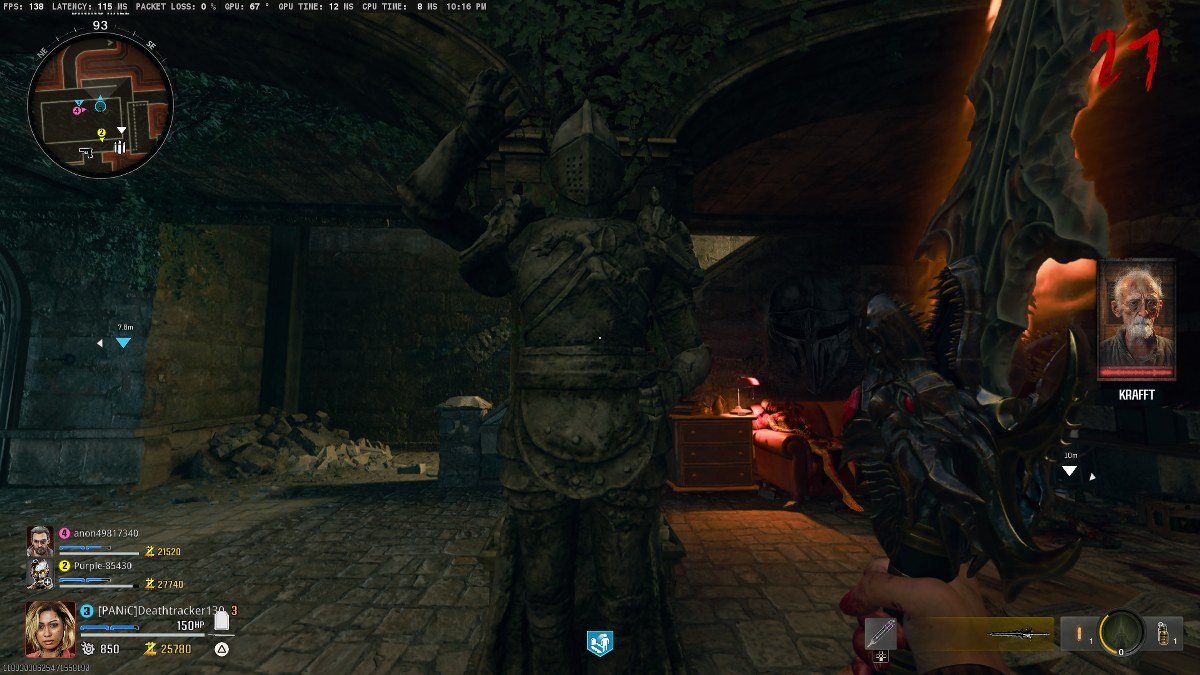
In the Juggernog room, you’ll again have two choices to proceed deeper into the map, and going either way is all fine. Open the doors, and you’ll reach a courtyard with 4 knight statues.
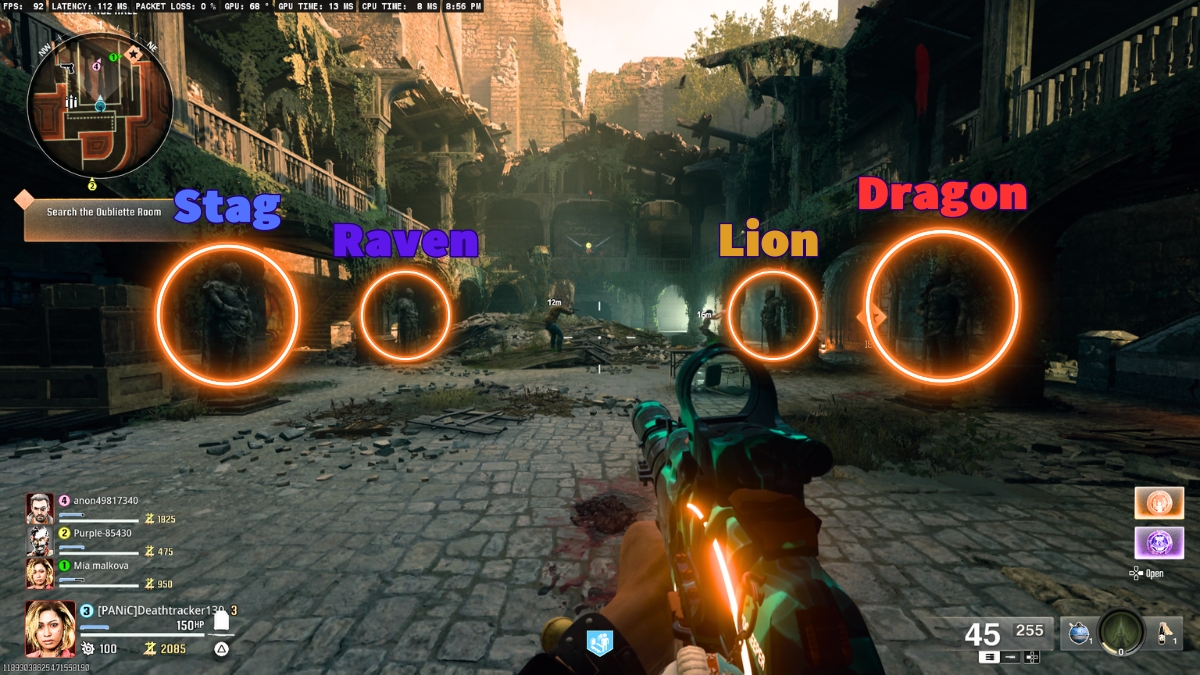
The image above shows exactly all the swords each knight is holding, but we’ve got nothing to do with it until all doors to the Pack-A-Punch machine are open.
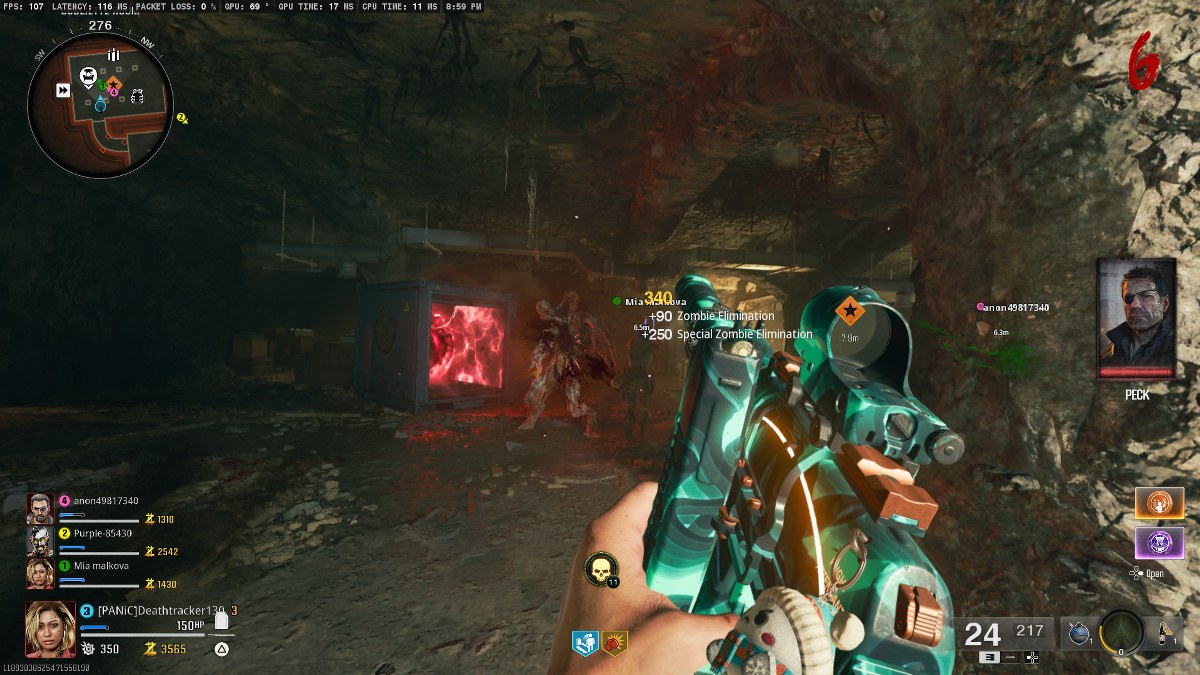
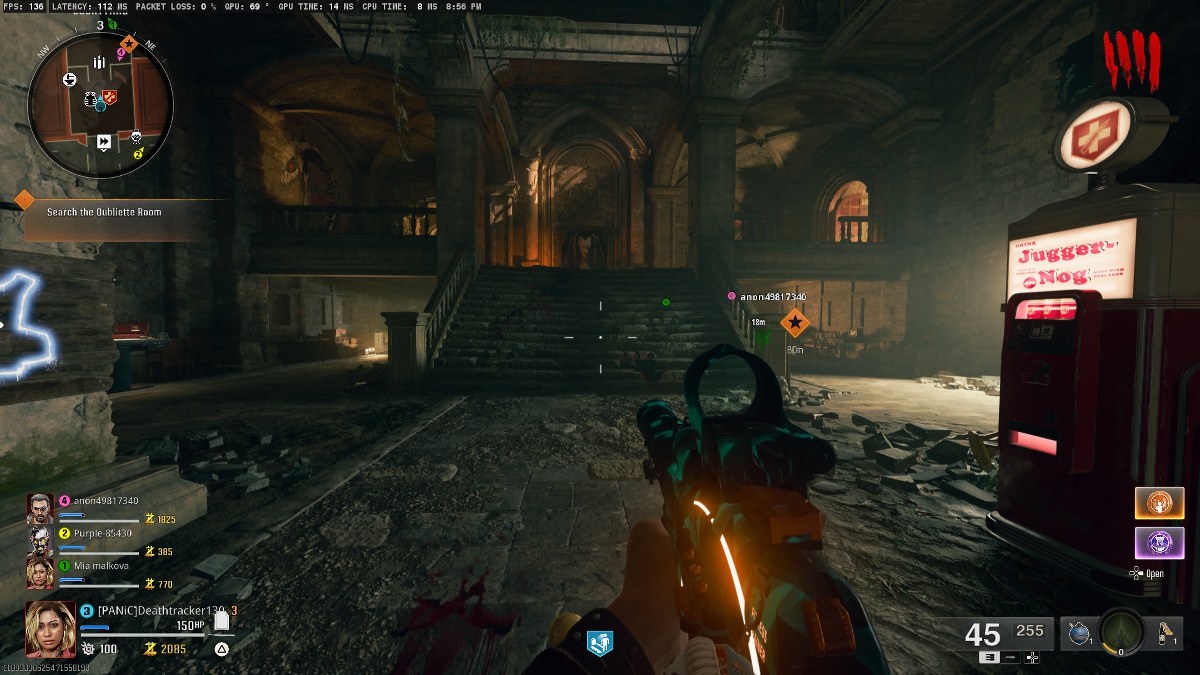
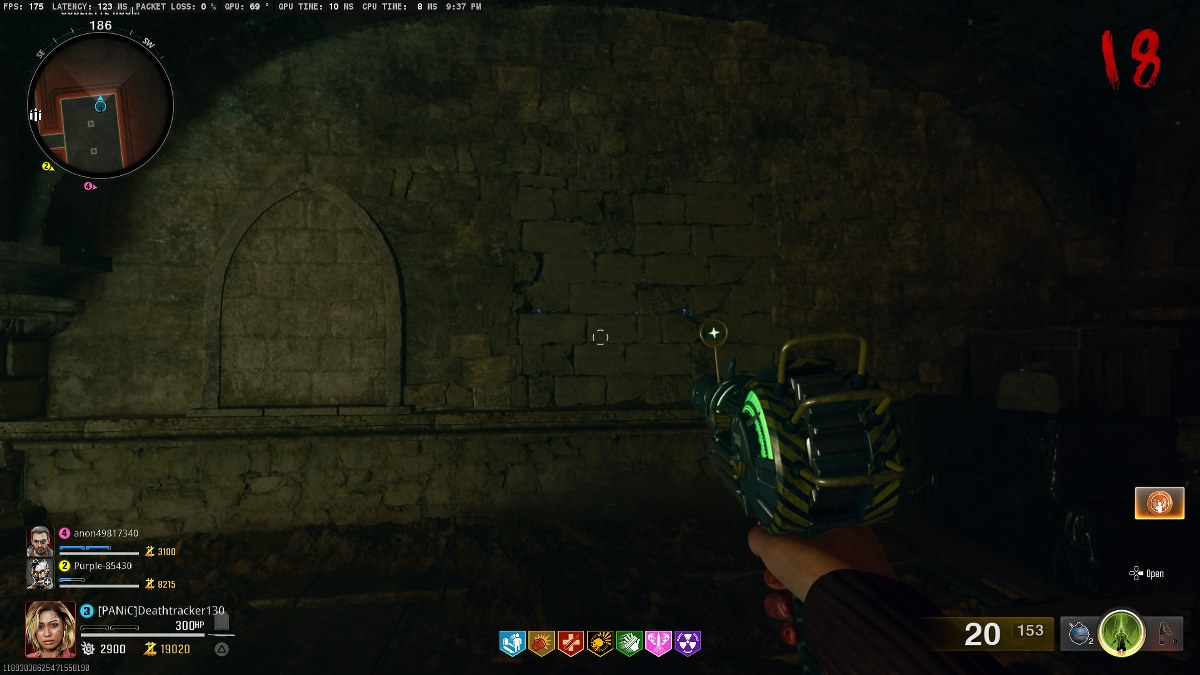
Proceed your quest in the Citadelle des Morts by following the star markers on your HUD, and you’ll reach a dungeon with a sealed container. Shoot the locks and a Doppelghast spawns.
Beat this mini-boss fight, but make sure you’re not unlocking the container before the end of the round, or you’ll be overrun by zombies in tight corridors. Keep a walker zombie, and then fight the Doppelghast. Once it’s killed, you can collect an Aether Crystal and then put it right where you freed the creature to spawn the Pack-A-Punch machine. After that, remember to give old man Krafft a visit to the Quick Revive room.
2. Find All Incantation Chests
Normally, you should be collecting the stamps and swords before unlocking the incantation chests, but since the zombies carrying the stamps won’t arrive until it’s round 10, we can optimize the work and fancy a simple shortcut. Here’s a full guide dedicated to this part of the quest:
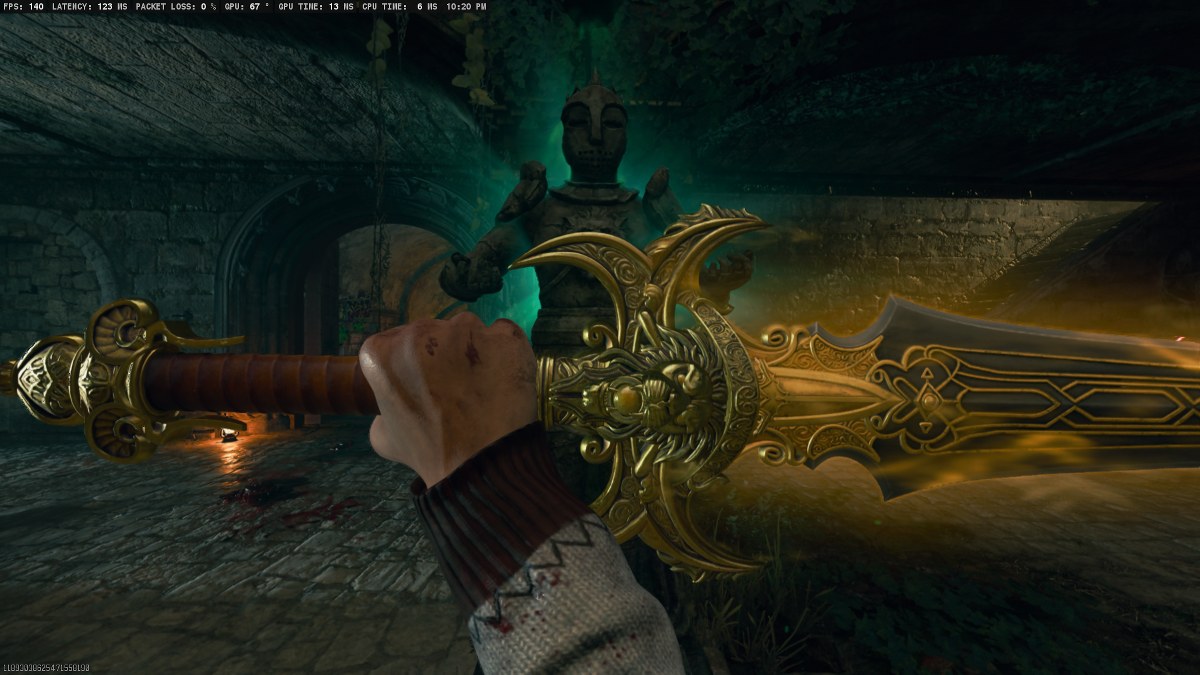
3. Grab All The Swords and Unlock Their Elemental Powers
Going Medieval, ey? We need to honor the four knights of the Citadelle des Morts in order to proceed further in the main easter egg quest. Here’s another detailed piece of guide dedicated to this part of the hunt:
4. Open All Incantation Chests
Alright, at this point in the game, you should have all four golden incantation chests and elemental swords ready. The next thing you’re going to do is to hit each of these chests with the dedicated sword.
The image above shows exactly which chest opens with which one of the elemental swords. All you need to do is a simple slash of the sword, and the chest opens. Inside there are four incantation powers you can use on zombies, and they all refill after a minute or two. We will get back to these incantations later in the Citadelle des Morts main easter egg.
5. Find All Four Pieces of Paper
Among the steps we’ve had in the Citadelle des Morts main easter egg in Black Ops 6 Zombies, this is the easiest one. You’re looking for four pieces of paper with bright as hell’s red symbols on them. These parts can be found in the Sitting Room right next to where the four knight statues are located.
The papers are usually in plain sight. On the TV, beside the sofa, near the beds, or on the walls around the room, you’ll easily spot these in no time.
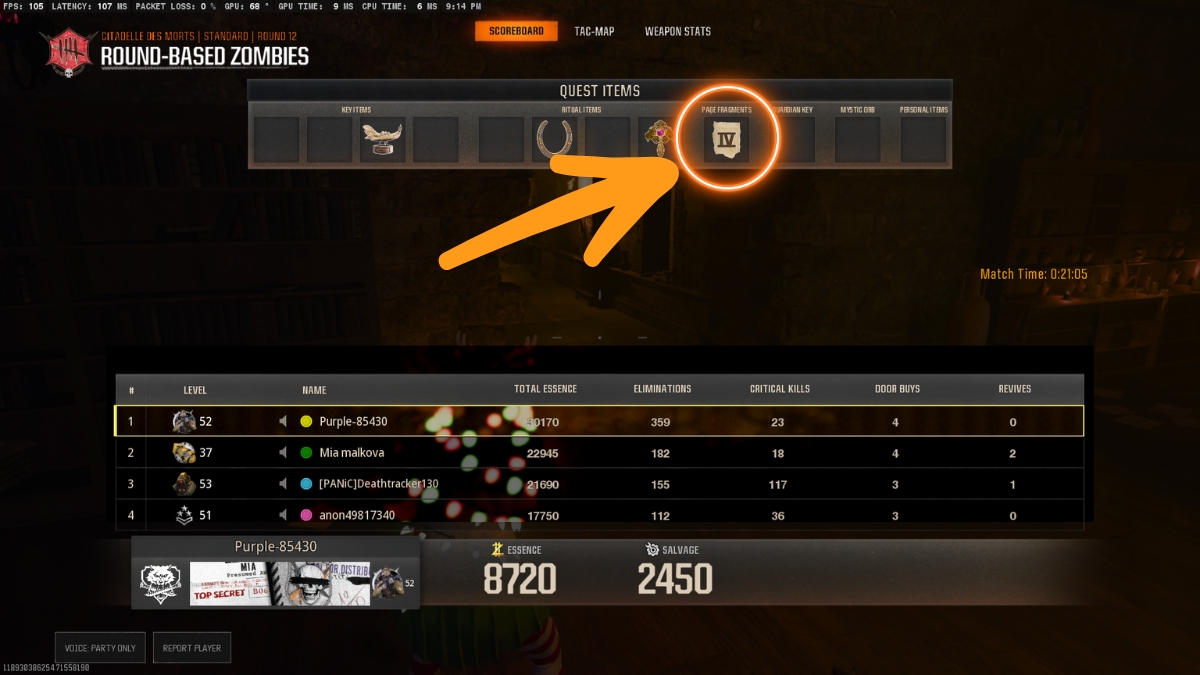
If you’re playing with friends or random teammates, you can always track this part of the quest’s status by looking at your inventory. The page with Roman numerals is the number of pages you’ve collected. If you have all four in your inventory – showing IV – you can proceed to the next step.
6. Solve The Wall Puzzle
Melee Macchiato is an underrated perk in Black Ops 6 Zombies for its augments, and you’ll need its aid for your next step in the Citadelle des Morts main easter egg quest.
Buy the Melee Macchiato if you haven’t already, and head down the stairs to the Pack-A-Punch machine. There’s another level you can go deeper down in the castle at the end of this room, and in there, you’ll find a fragile part of the wall to your left.
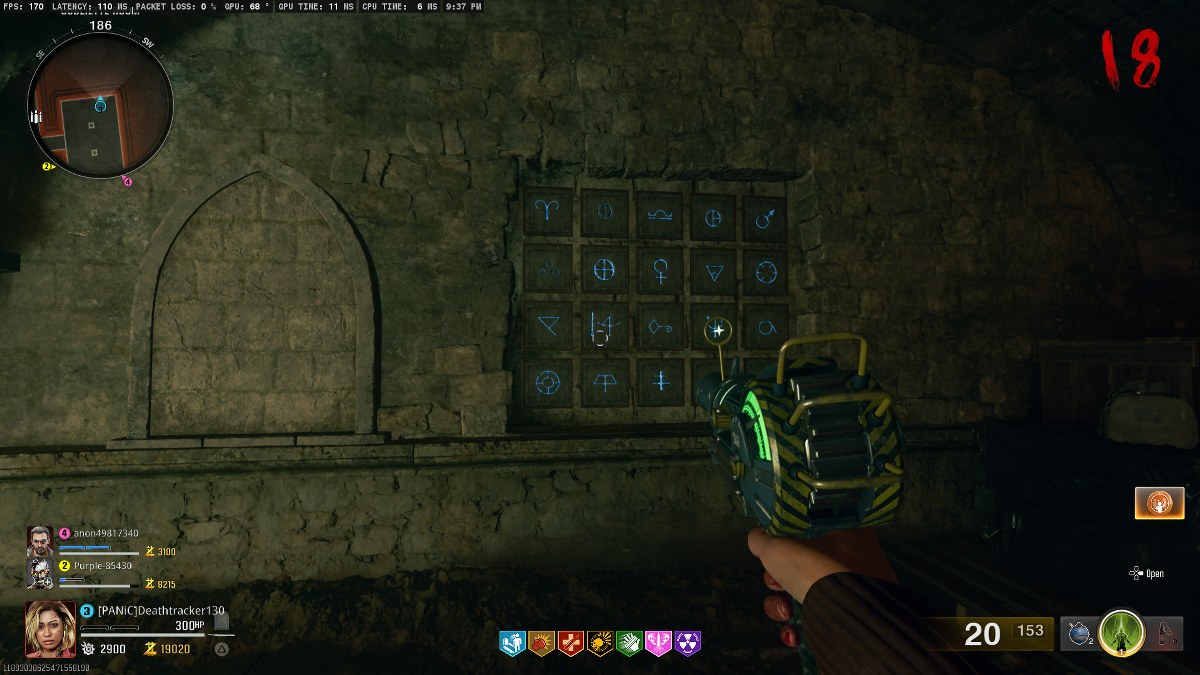
You know it; punch it with Melee Macchiato perk equipped, and it reveals a riddle. Now the answer to this riddle is right in the spawn area. Yap, all the way back, not cool.
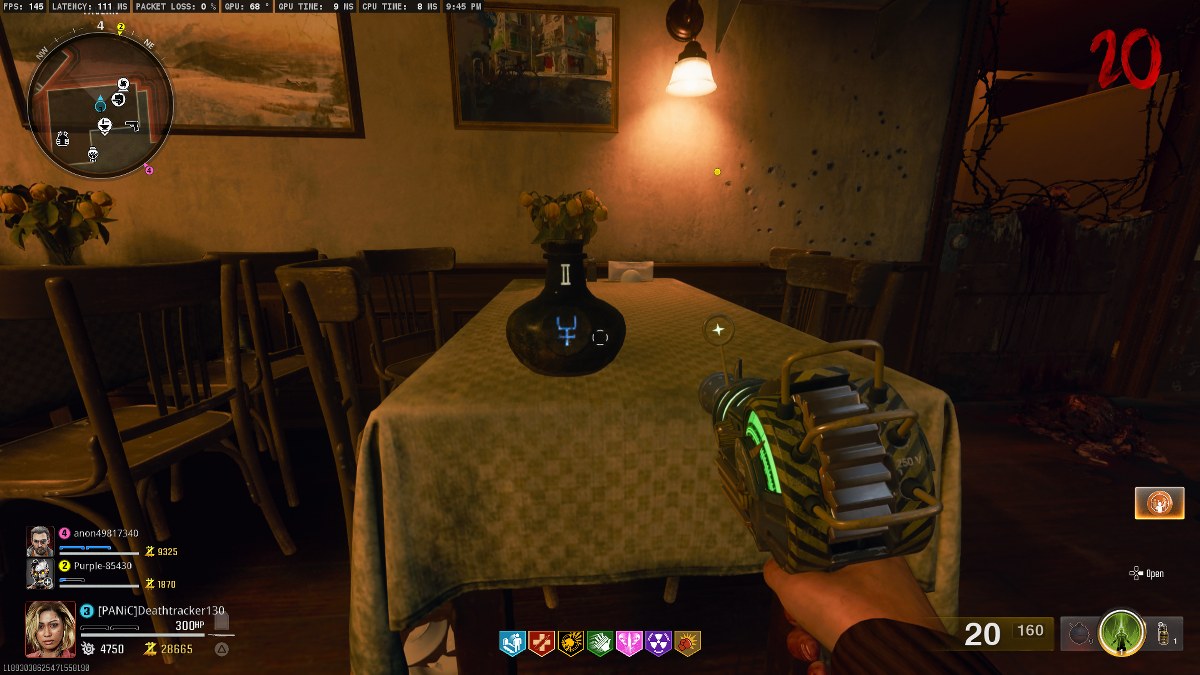

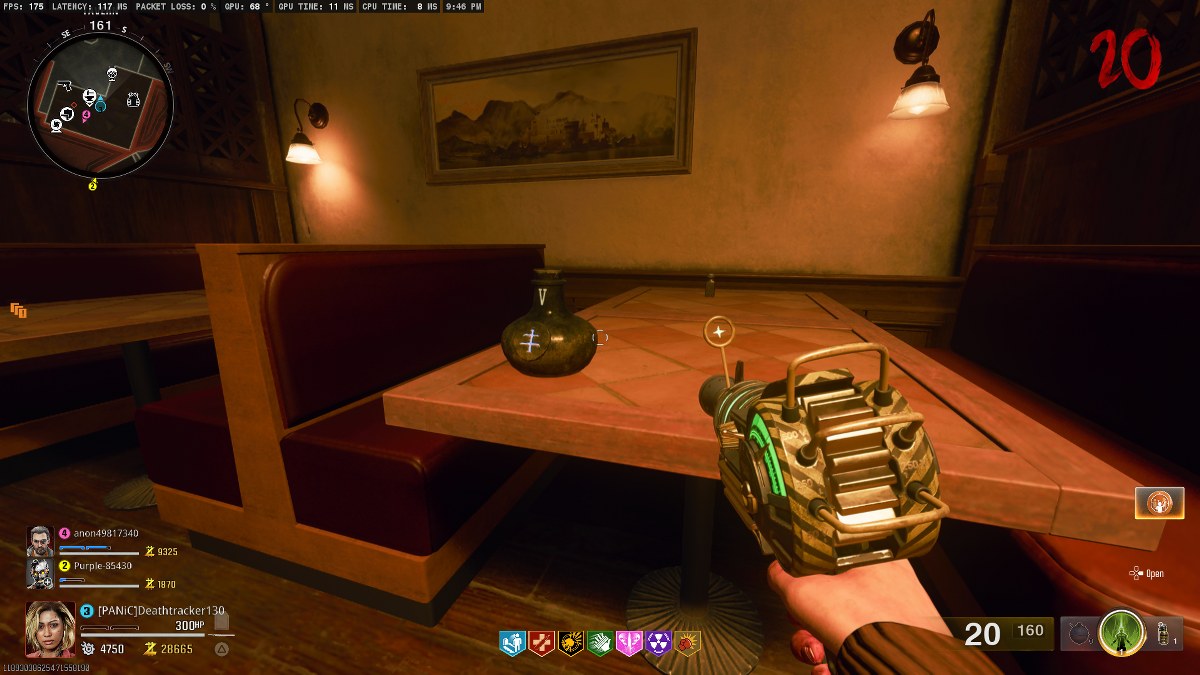
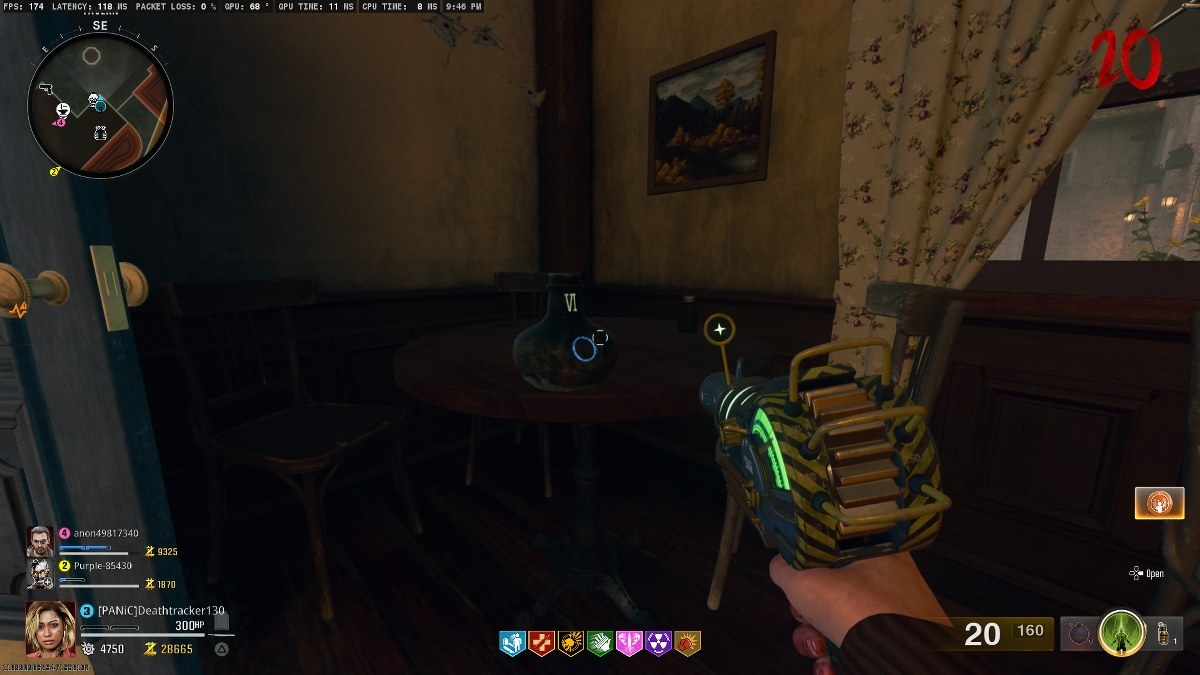
From here you’ll find a bar to your left where you got the Raven Sword upgrade. But don’t go down the stairs this time. Instead, look for 6 small ancient-looking jars.
When you press the interact button many times in front of these jars, they reveal their secret. The images above show exactly where you can find all 6. Write down every number’s shape in order, and go back to the riddle.
Here you need to hit each shape from 1 to 6, which is I to VI. If you fail, you can try again next round. If successful, another riddle appears right next to it.
7. Complete All 4 Book Rituals

The pages you see in this book are the ones you picked a few steps before in the Citadelle des Morts main easter egg — optimization, baby! Now, these symbols are exactly what you think they are: The ritual traps on the ground found all over the map in different stages.
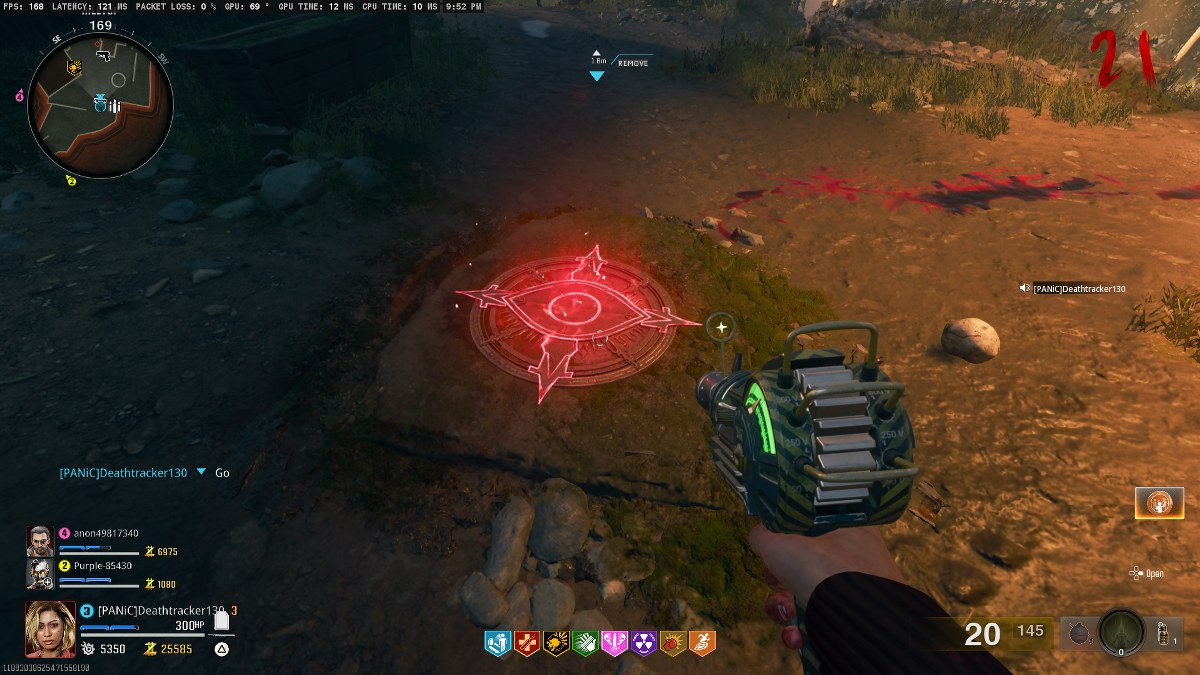
The image above shows the exact order in which rituals have to be completed. These shapes are random every time you play Citadelle des Morts, so yours won’t match this. But the order is always the same, so look for a trap with the eye symbol that looks like the one on your first page.
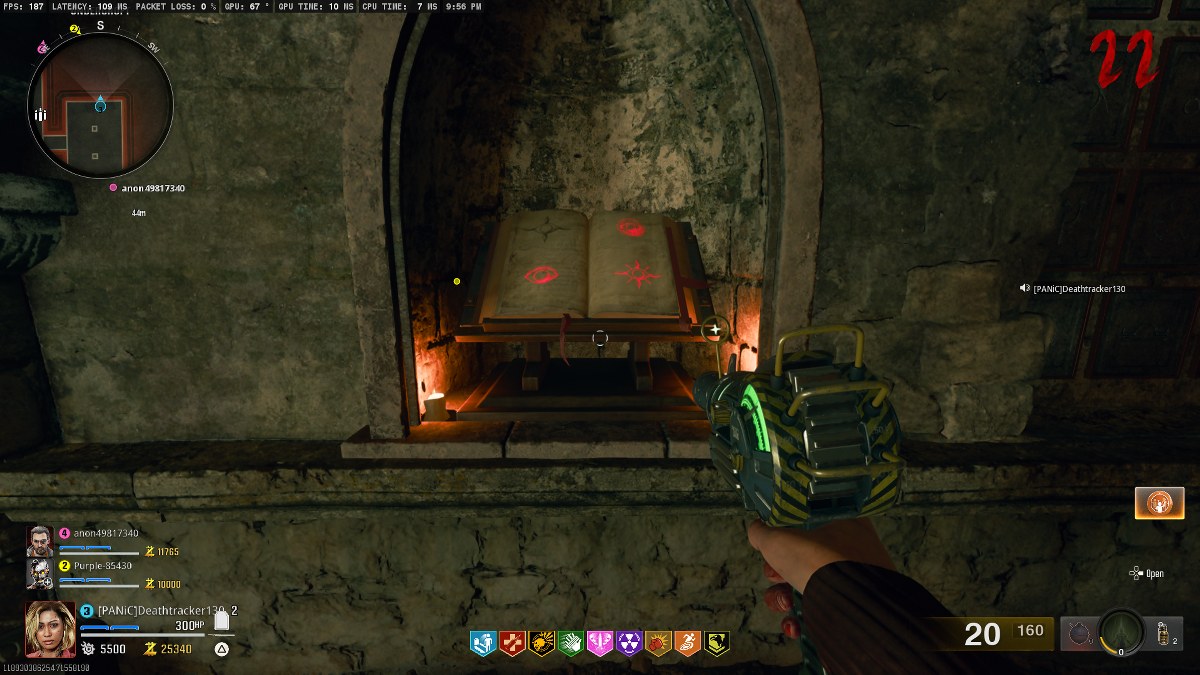
Once found, let a bunch of zombies come close, and then activate the ritual. Decimate those undead ugly walkers, and then head to the book to see if the first page’s red symbol has disappeared. If so, go for the next one, and so on.
8. Salute The Knights
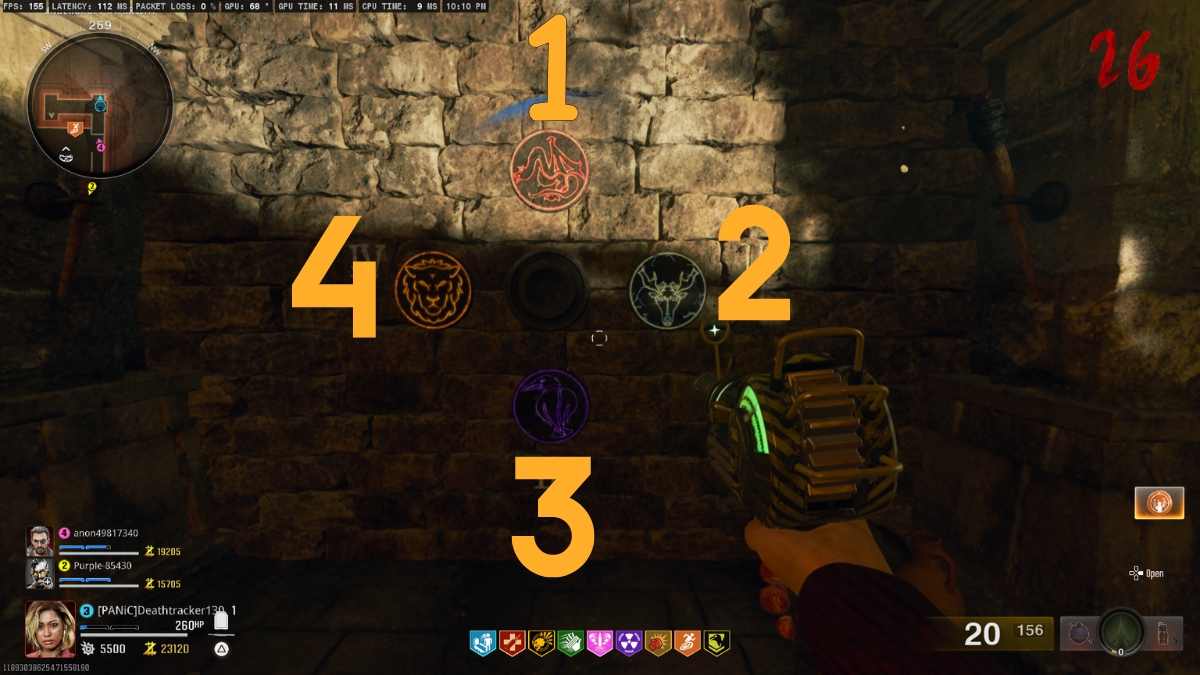
For this step, you’ll need to head to the side of the Stamin-Up perk machine where there are stairs to the lower surface. Go down a bit, and you’ll find these symbols on the wall. Follow the order according to the image above. Write it down or memorize it, then head to the knight statues.
Now, in the correct order, pick the sword related to the knight, shoot the matching incantation to the statue, and then inspect your blade right in front of it. This will then trigger the statue to salute you back, and then it’ll start glowing. Here are all the swords and incantations that match:
- Dragon Sword: Fire Incantation
- Stag Sword: Lightning Incantation
- Lion Sword: Light Incantation
- Raven Sword: Void Incantation
Once you do all four in the right order, matching the swords and incantations, all four knights start illuminating, dropping you an orb at the center of the courtyard. Pick the Mystic Orb, and proceed to the next step of Citadelle des Morts main easter egg.
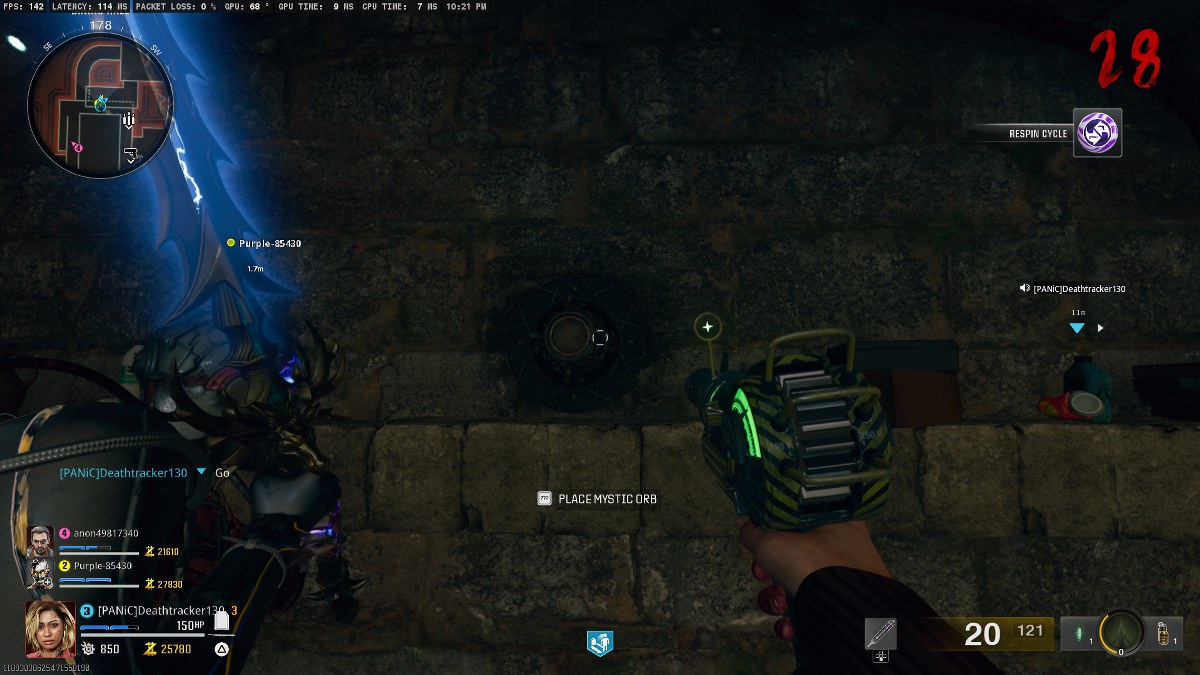
9. Complete All 4 Mystic Orb Trials

This orb you’ve just acquired has to be planted in four different locations related to the four swords and their powers. You need to go to the four areas you see in the images below, and then plant the orb on the wall by pressing the interact button.
Mystic Orb Lion Challenge
So the first place you need to place the Mystic Orb on is the wall right up the stairs above the Light Incantation. Once you do, there’ll be green orbs spawning in the area, and all you need to do is stand right inside them to make them move toward the orb up the stairs. Once it’s done, you’ll get the prompt to pick the orb and move on to the next one.
Mystic Orb Dragon Challenge
For the Dragon challenge, head where you first unlocked the Fire Incantation, and pick it. Then move to the other side of the rampart where the ammo cache is located, and you’ll find another place on the wall to put the Mystic Orb. This time, you need to gather a ton of zombies around you, and once you’re near the orb, kill them off with either Fire Incantation or the Dragon Sword’s special ability once it’s fully charged.
Mystic Orb Raven Challenge
The Raven challenge is down in the riddle room where you placed the pages and solved the ancient jar puzzle. Right beside the Dark Incantation chest, you can place the Mystic Orb on the wall and then kill zombies with either the Raven Sword’s special ability or the Dark Incantation.
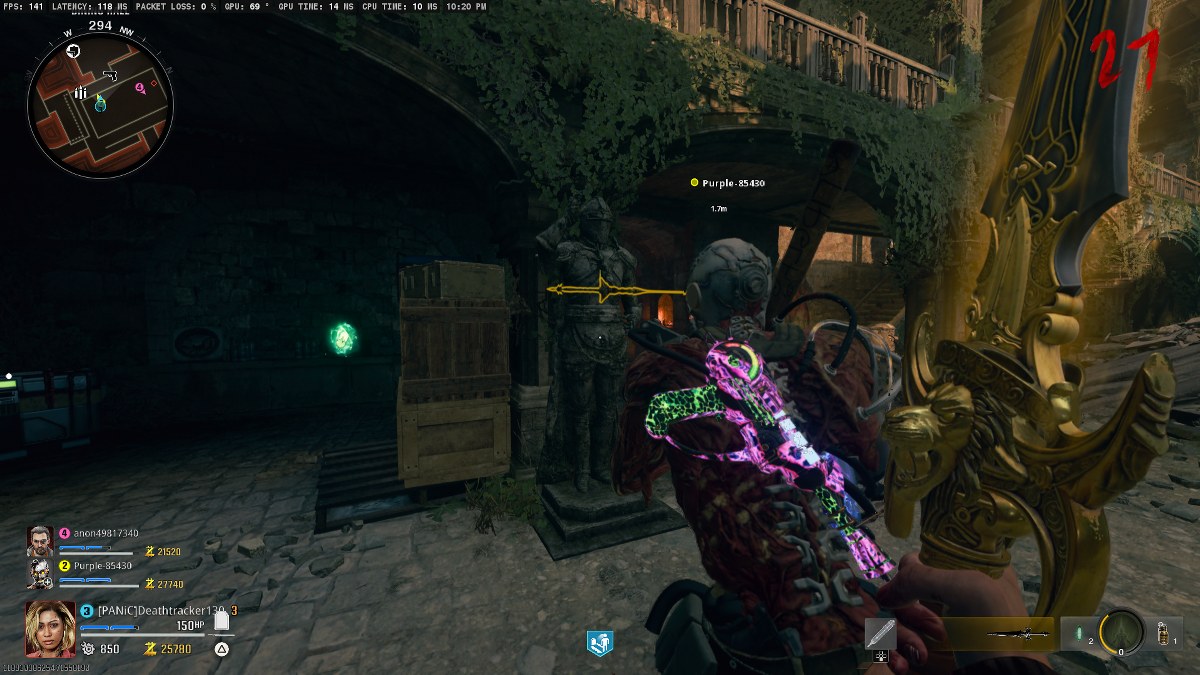
Mystic Orb Stag Challenge
This last challenge is also a soul box right in the spawn area to your left. Place the orb right here as you see in the image above, and take some Lightning Incantation from the chest. Same drill, a different sword. Once you’re done filling the Mystic Orb with all four elemental challenges, you’re only one step away from reaching Citadelle des Morts final boss to end the main easter egg quest.
10. Listen To The Owl
With the fully charged Mystic Orb, you’ll then have to place it right in the middle of where you found the symbols on the wall down the stairs to the left side of the Stamin-Up perk. This will then reveal a secret door down the stairs, and The Owl will have a few moments talking.
There’s an item called the Guardian Key on the table right in front of The Owl. Pick it up and head to the spawn room once you’re completely ready for the boss fight. Place the key right in front of the giant statue in the square, and the Citadelle des Morts easter egg boss fight begins!
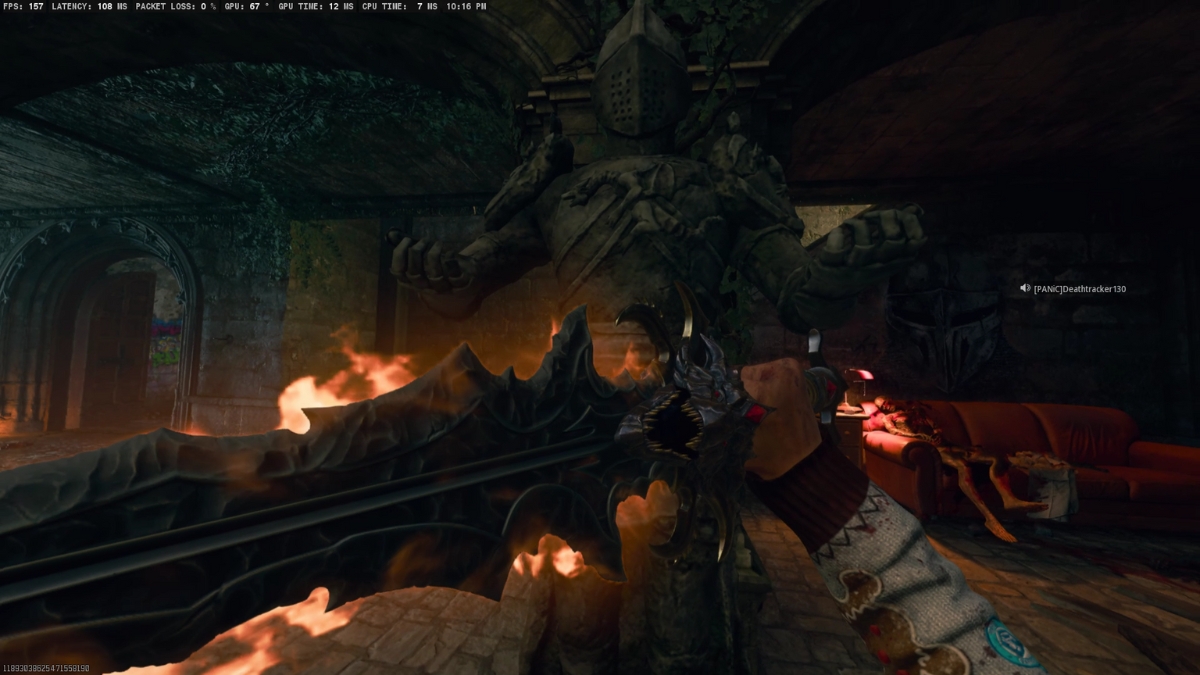
11. Citadelle des Morts Final Boss Fight
Citadelle des Morts main easter egg final step gives you a 3-phase boss fight with a statue that can stomp you to death. The first thing you need to know is that moving left and right won’t help at all, and you’ll have to run in circles with all your teammates to escape his attacks.
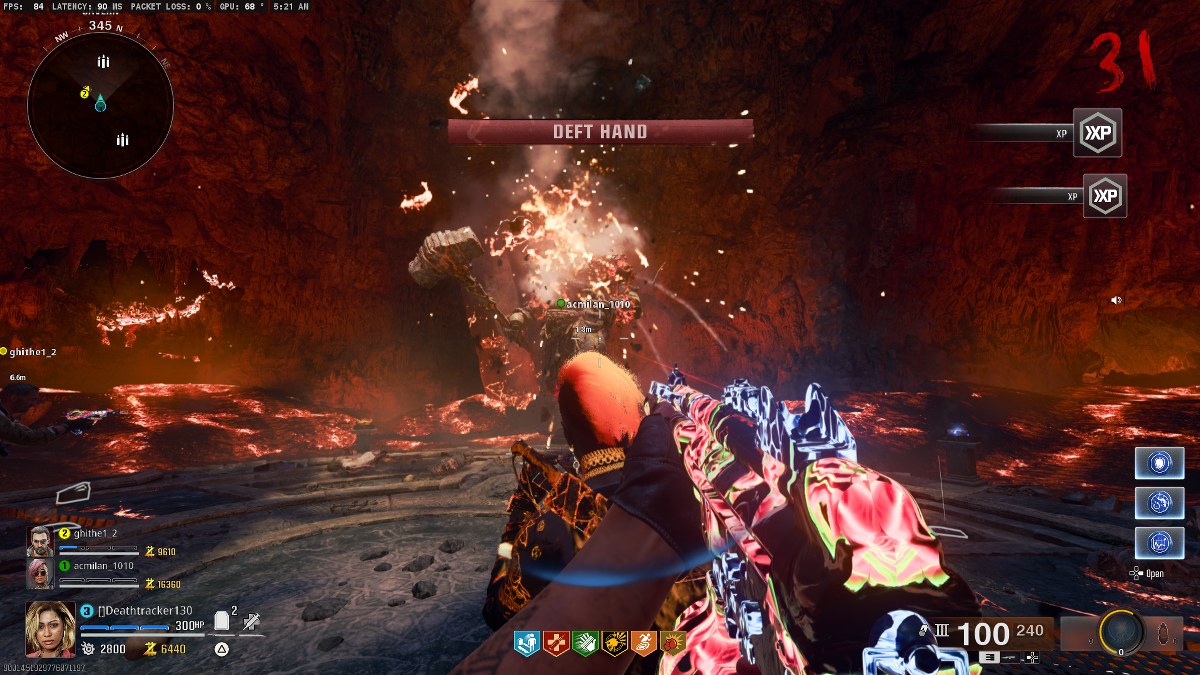
The first phase is simple. The boss is slow, but his armor is thick! All your shots might feel like nothing to him, and that’s why you need to focus fire on only one part of his armor. If you’re shooting the left shoulder, for example, you all need to hit him on that spot only to break his armor as quickly as possible.
Once the armor is down, you can then deal damage to the boss until 1/3 of his HP is gone. He’ll then go into an idle period during which a bunch of normal zombies attack you. This is a good time to farm some extra armor and regroup.
In the second phase, be careful not to step in lava on the sides, which can kill you in seconds. The boss also spits lava at you, and his movement is a little faster than before. In the same strategy, shoot him down, and you’ll have another regroup time before the final phase begins.
In the last phase of the Citadelle des Morts main easter egg final boss fight, the arena becomes much smaller than before, and the lava will reach you if you’re not careful with your steps. The boss is super fast now, but if you move in circles, it will confuse him a bit.
The best strategy for these final moments is using the Mutant Injection to deal massive damage to the boss while immune to the small zombie damage and the boss’ heavy attacks. Also, make sure you all have self revives as it’s so much harder to revive teammates here without the Healing Aura field upgrade.
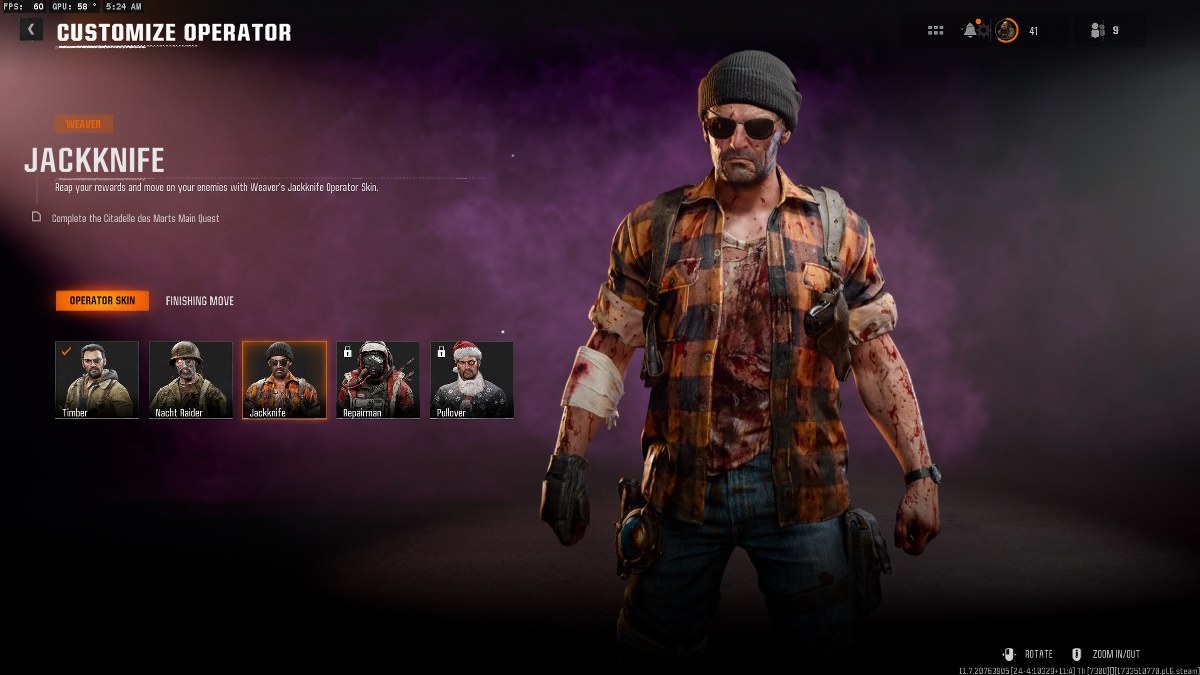
Once you’re done fighting the statue, the game rewards you with a gorgeous cutscene, and you can either continue the game for some camo grind and extra XP, or you can exit and enjoy unlocking the Weaver skin that the game rewards you with.
Bonus Trick! This might sound like a pay-to-win scenario, but if you pop an Idle Eyes GobbleGum right before the statue slams the floor and starts the first phase, he’ll not attack you! Use this “official cheat code” before it’s patched.


